“Skynetix Salon” Management Guide (Step-by-Step)
Learn how to organize your business, add new services, manage your clients, and keep track of your appointments quickly and easily.
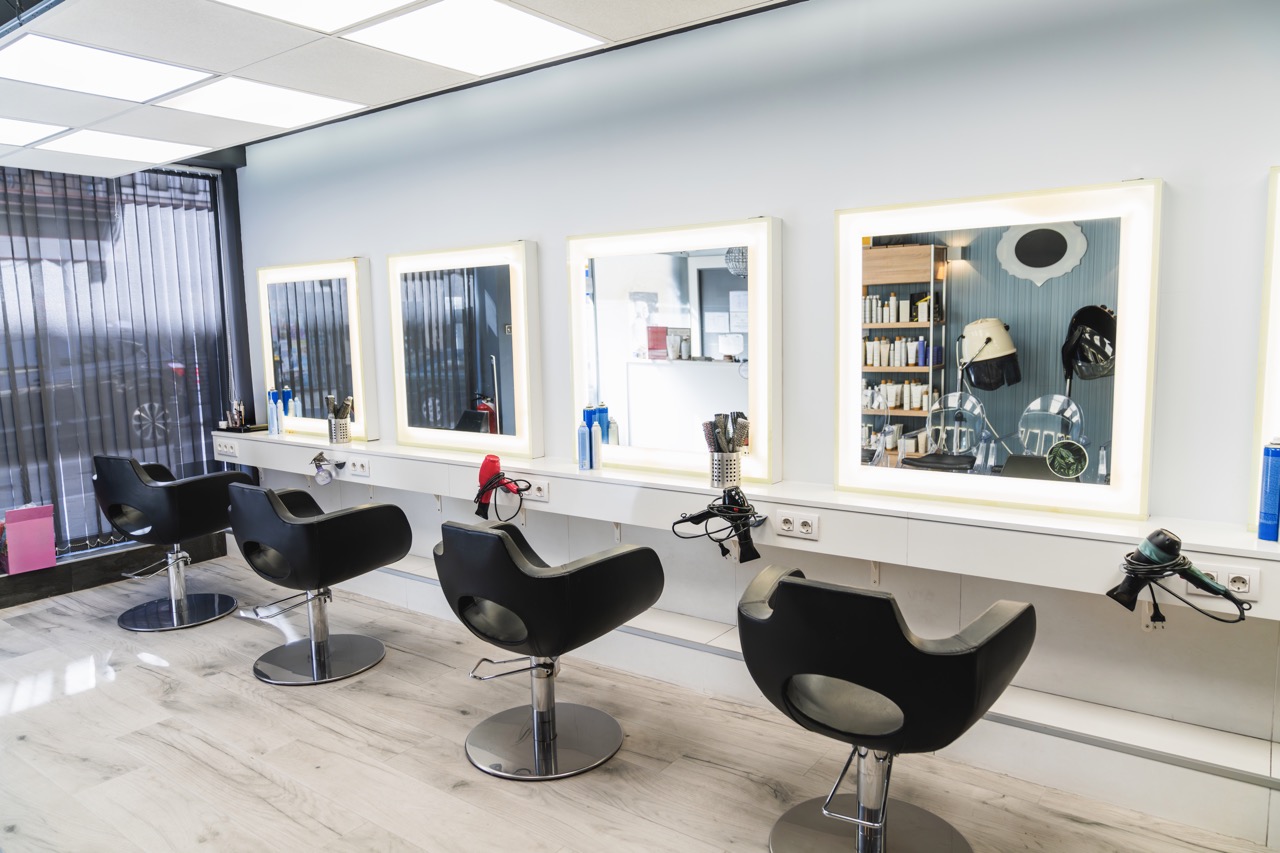
The Skynetix Showroom It is the heart of your business’s day-to-day online operations. Through this integrated system, you can check your associates’ availability, view upcoming appointments, and maintain an organized history for each individual client, avoiding double bookings and missed calls.
How to Deploy New Services
In order for your customers to book appointments, you must first specify which services you offer, how long they last, and how much they cost.
From the left-hand menu in WordPress, click on Skynetix Showroom and go to the option Services > Add New:
- Name & Description: Provide a clear title (e.g.,. Men's Haircut & Shampoo) and a brief description, if necessary.
- Duration: Specify the exact number of minutes or hours required (e.g., 30 minutes). This is crucial for the system to calculate the gaps correctly.
- Price: Enter the cost of the service.
[ Screenshot: The service addition page, with the focus on the Duration and Price fields ]
How Do We Handle Customers?
Although customers are automatically registered when they book an appointment online, you can manually add a customer who called you or came directly to the store.
Go to the option Customers and press Add New. Please fill in the basic information:
- First and Last Name: Required for identification in the log.
- Phone & Email: These are very important fields, as the system will automatically send SMS or email reminders for their appointments.
Within each customer’s profile, there is a field for “Notes.” Use it to note preferences (e.g., “prefers a specific stylist,” “allergic to a specific product”). The next time they book an appointment, you’ll have all the information ready!
[ Screenshot: The form for creating a new customer, showing the contact fields ]
Add Staff & Schedules
If your business has more than one employee, you can assign tasks to each employee and set their work schedules:
[ Screenshot: Schedule and service selection settings for a staff member ]
Managing the Calendar
This is the panel that will be open all day on the host's computer or tablet. By clicking on the Calendar You can view all your appointments by day, week, or month.
- Scheduling an Appointment at the Front Desk: Click on any available time slot in the calendar, select the client, service, and employee, and click "Save.".
- Time Change (Drag & Drop): If a customer asks to change the time, you can simply «drag» their appointment box to a new available time slot.
When a customer cancels an appointment, don’t forget to change its status to “Cancelled” or delete it from the calendar. If you leave it active, that time slot will remain reserved, and no other customer will be able to book an appointment online at that time.
[ Screenshot: The Calendar's main screen with the colored appointment blocks ]
Would you like to connect your Appointment System to automated SMS messages?;
Reduce “no-shows” (customers who forgot their appointment) by up to 80%. At Skynetix, we can set up automatic reminders via SMS or Viber that are sent automatically a few hours before your customer’s appointment.